Platform GuidePLATFORM
Getting Started
Section titled “Getting Started”Integration Workflow
Section titled “Integration Workflow”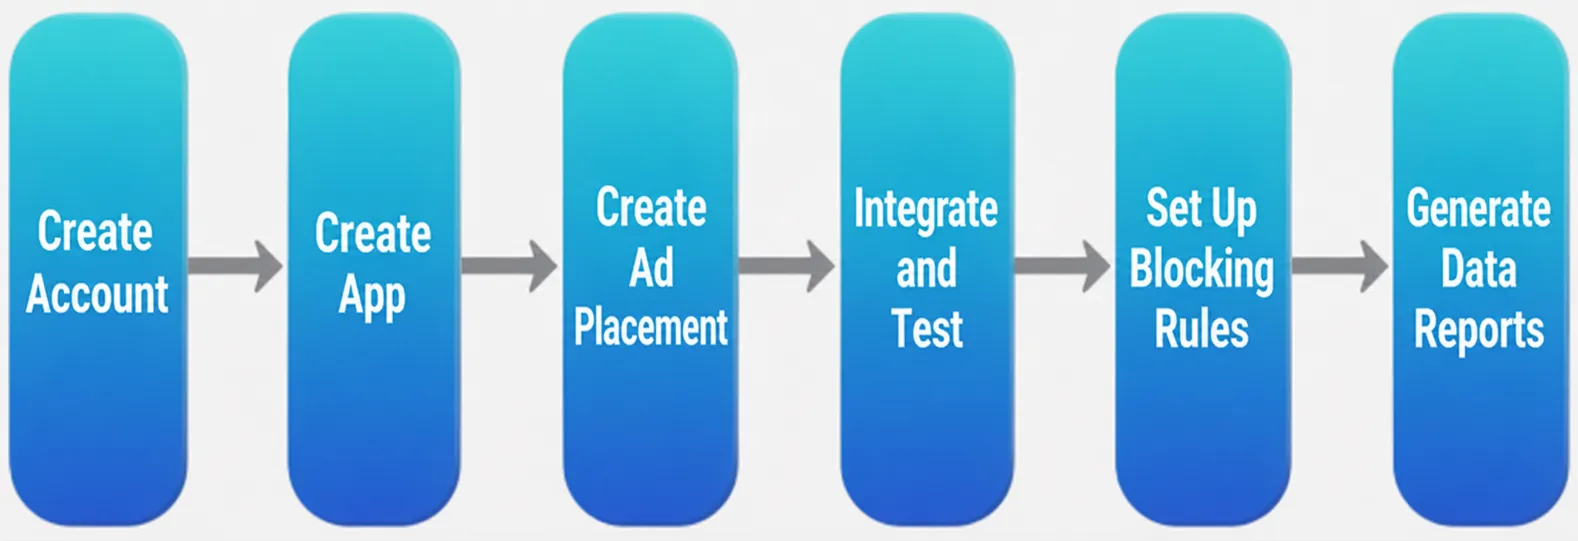
Before integrating HeheBid, please prepare:
- A valid email address (for registration and notifications)
- Business verification materials (business license, company info) or personal verification (ID, contact info)
- Published or upcoming mobile apps (Android / iOS)
- Payment account (bank account or third-party payment)
Create Account
Section titled “Create Account”Visit HeheBid and click Register Now at the bottom of the screen.
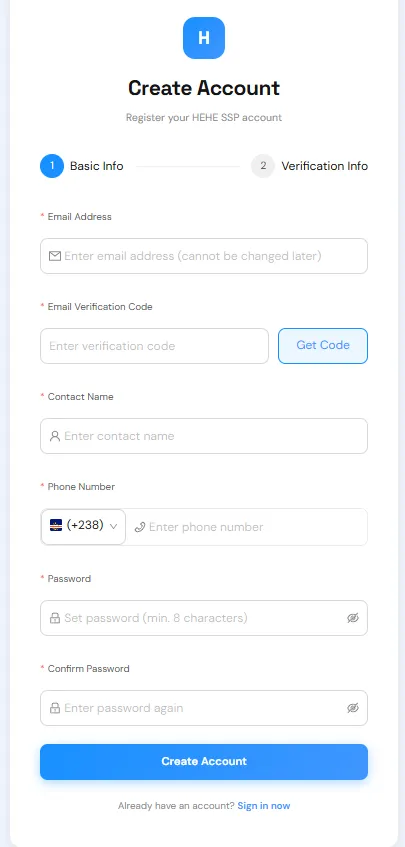
Registration has two steps:
Step 1: Basic Information
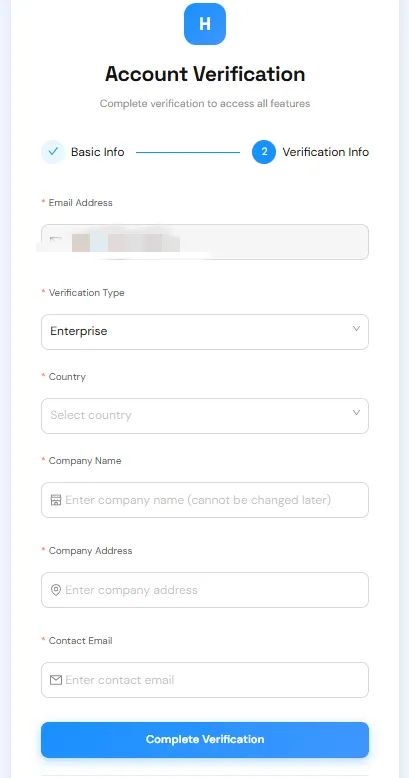
Step 2: Verification (Business or personal verification, review within 1–3 business days)
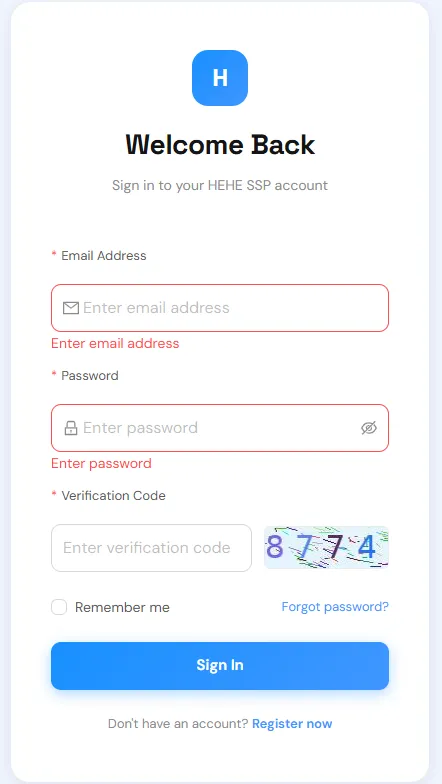
Enter your email, password, and verification code, then click Login. Click the captcha image to refresh.
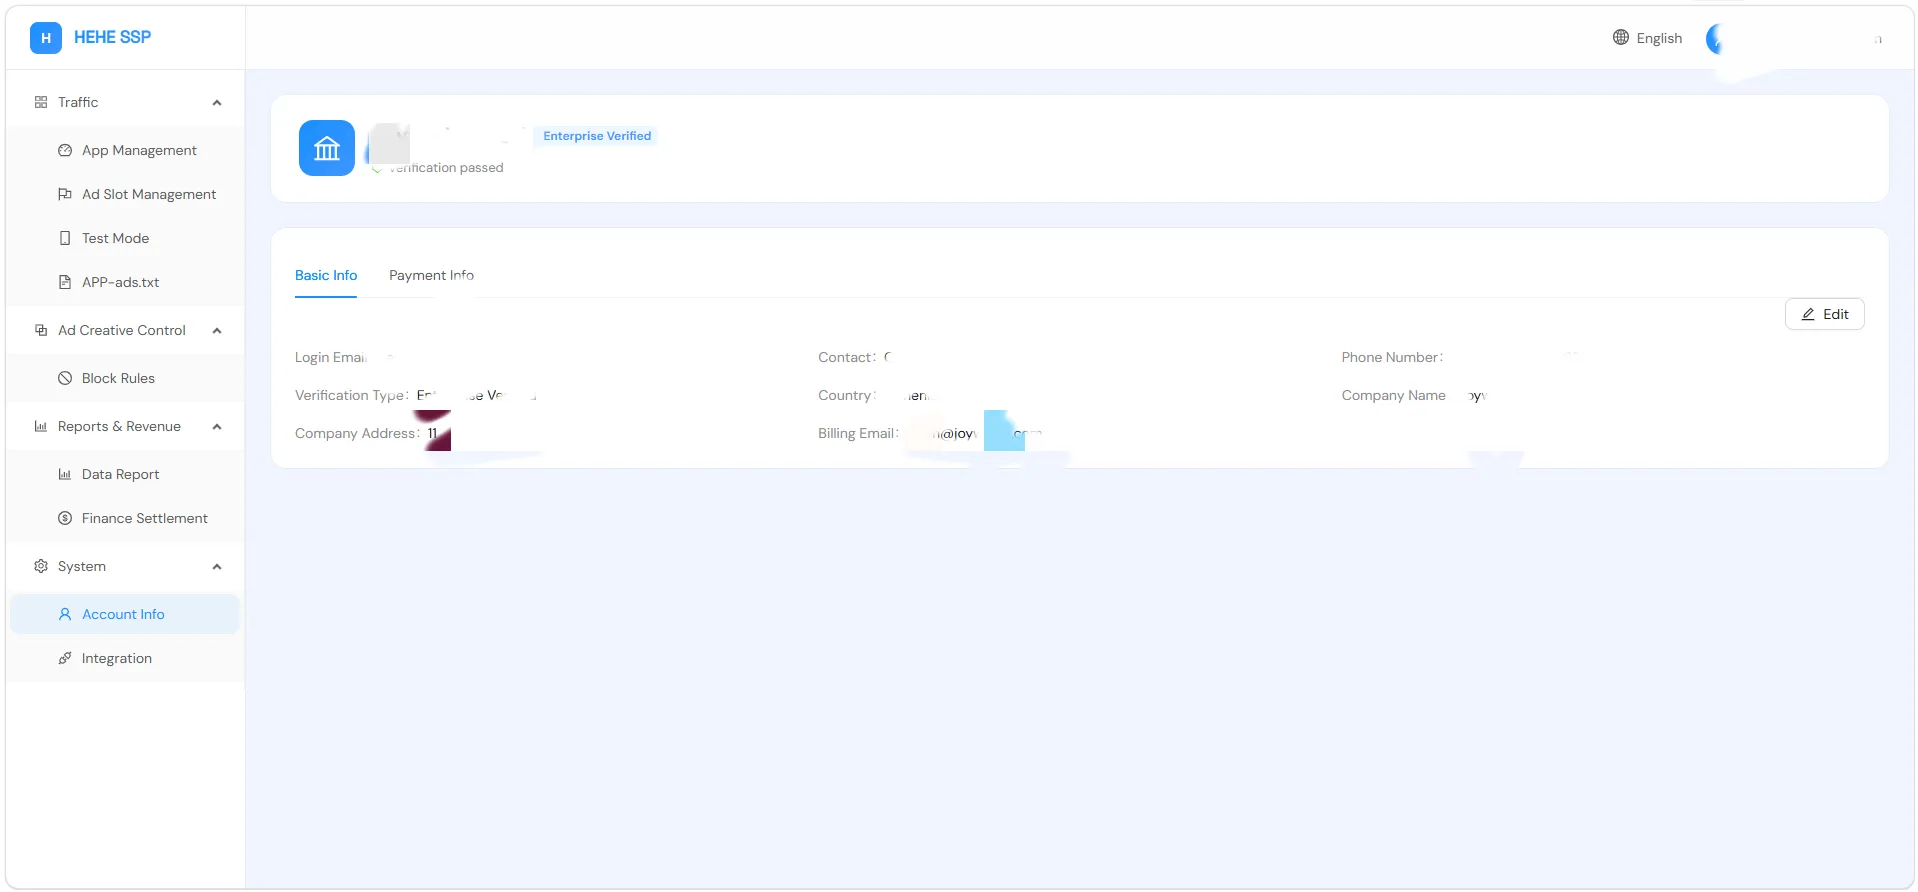
After logging in, complete your account information under System Management → Account Info, including basic info and payment details. Currently supports Wire Transfer and PayPal, USD only.
Forgot Password
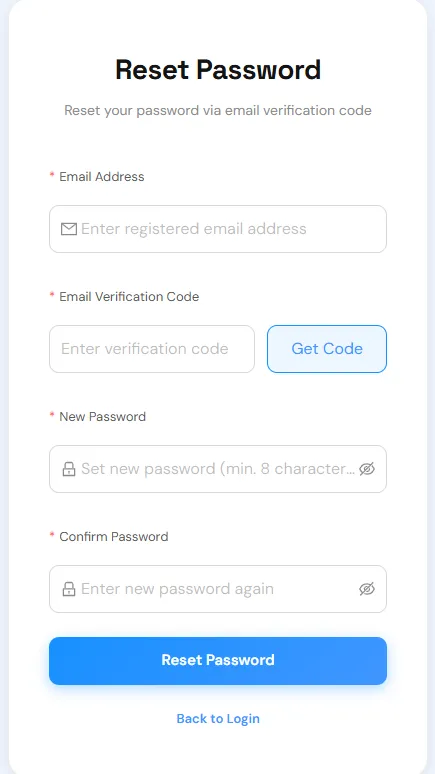
Section titled “Forgot Password”On the [HeheBid] login(https://console.hehebid.com/) page, click Forgot Password, enter your email, get the verification code, set a new password, and confirm.
Platform Navigation
Section titled “Platform Navigation”| Menu | Sub-menu | Description |
|---|---|---|
| Traffic | App Management | Add, edit, disable apps |
| Ad Slot Management | Create and manage ad placements | |
| Test Mode | Add and manage test devices | |
| APP-ads.txt | Manage app authorization file | |
| Creative Control | Block Rules | Set ad content filtering rules |
| Report & Revenue | Data Report | View metrics and trend charts |
| Finance Settlement | View earnings and settlement records | |
| System | Account Info | View and edit account information |
| Integration | Report API and other integrations |
App Management
Section titled “App Management”View App List
Section titled “View App List”Navigate to Traffic Management → App Management:
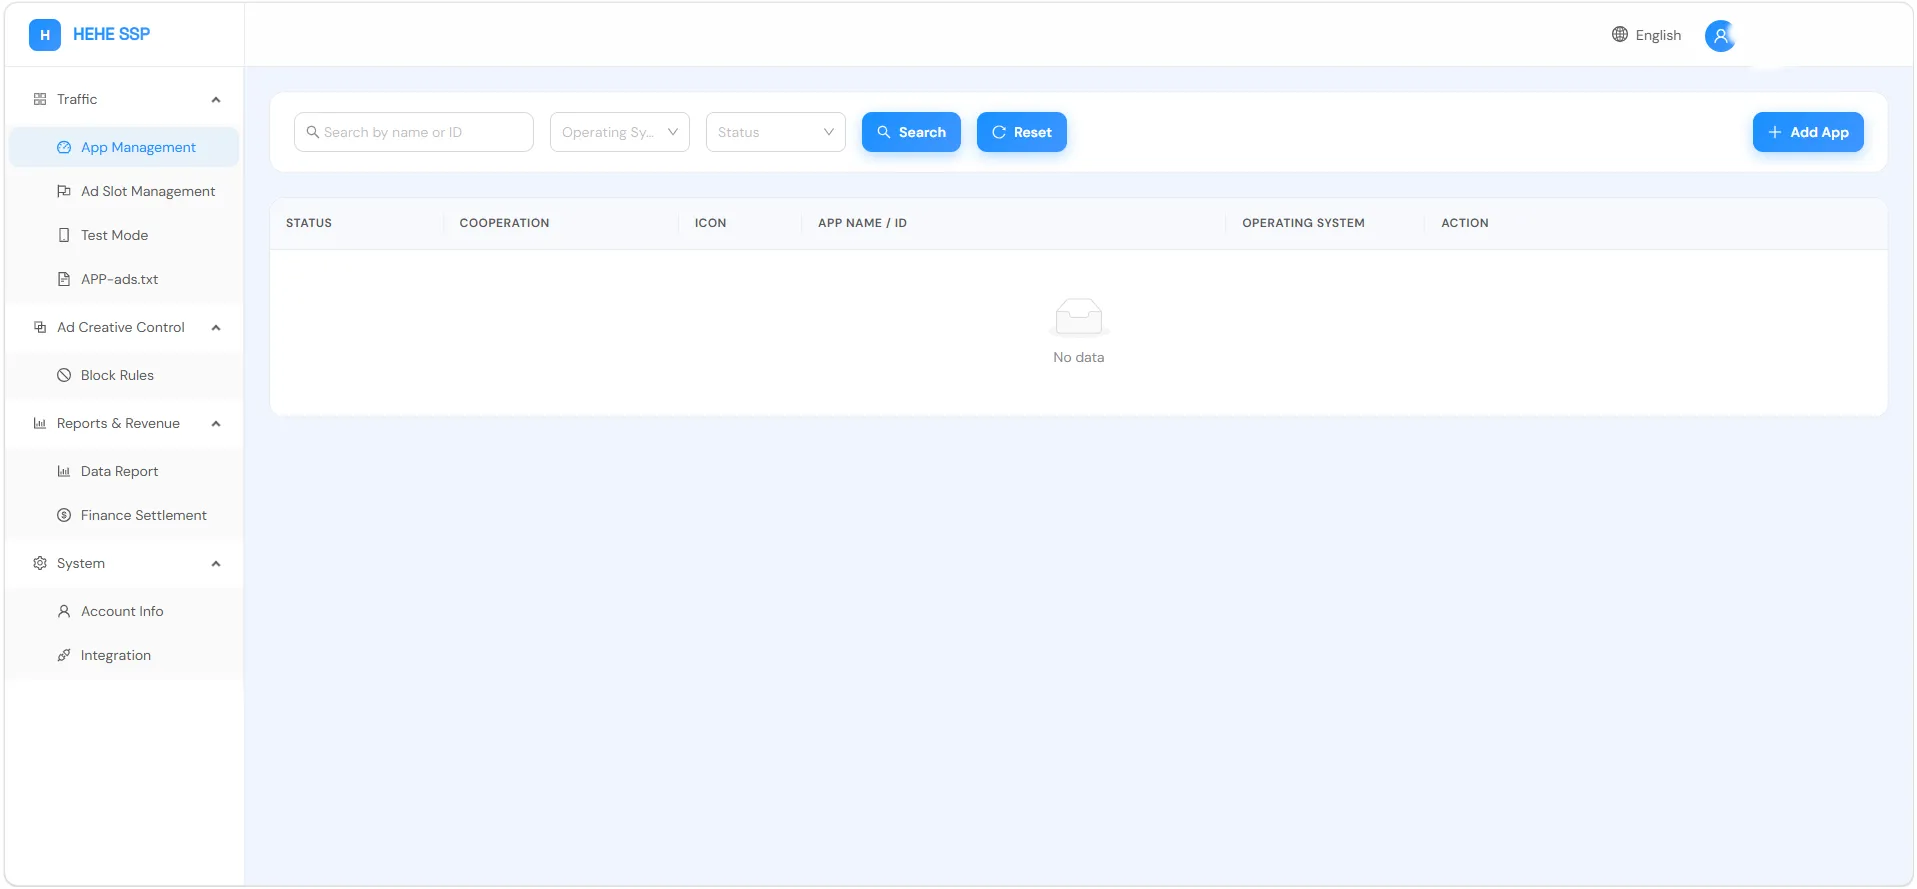
The page shows all added apps with name, OS, package name, status, etc. Use the action column to edit, view reports, or manage ad slots.
Create App
Section titled “Create App”Click Add App on the App Management page.
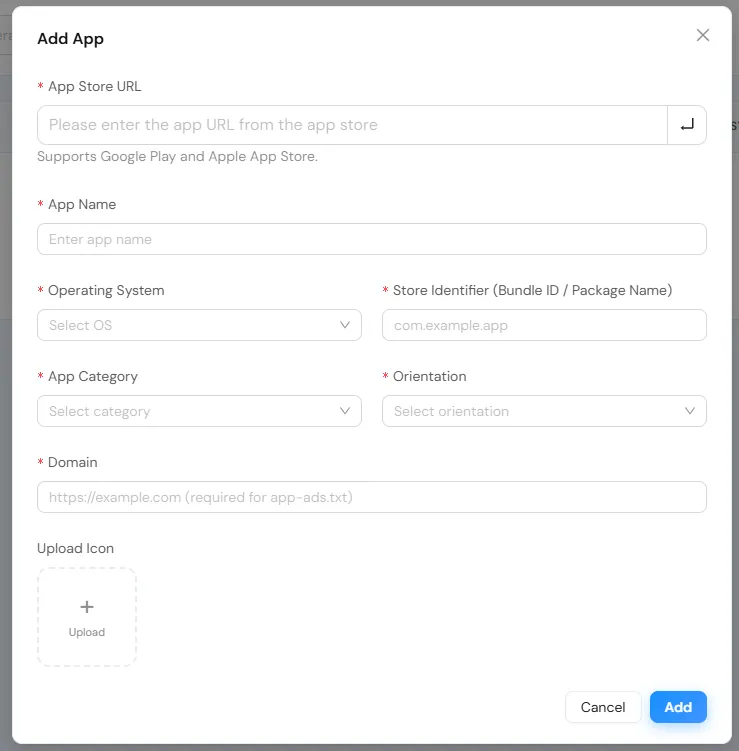
Provide your app store URL and press Enter to auto-detect app info.
App Status
Section titled “App Status”| Status | Meaning |
|---|---|
| Active | Approved, monetizing normally |
| Under Review | Waiting for platform review |
| Rejected | Needs revision and resubmission |
| Disabled | Developer disabled, can be re-enabled |
Ad Slot Management
Section titled “Ad Slot Management”View Ad Slots
Section titled “View Ad Slots”Navigate to Traffic Management → Ad Slot Management:
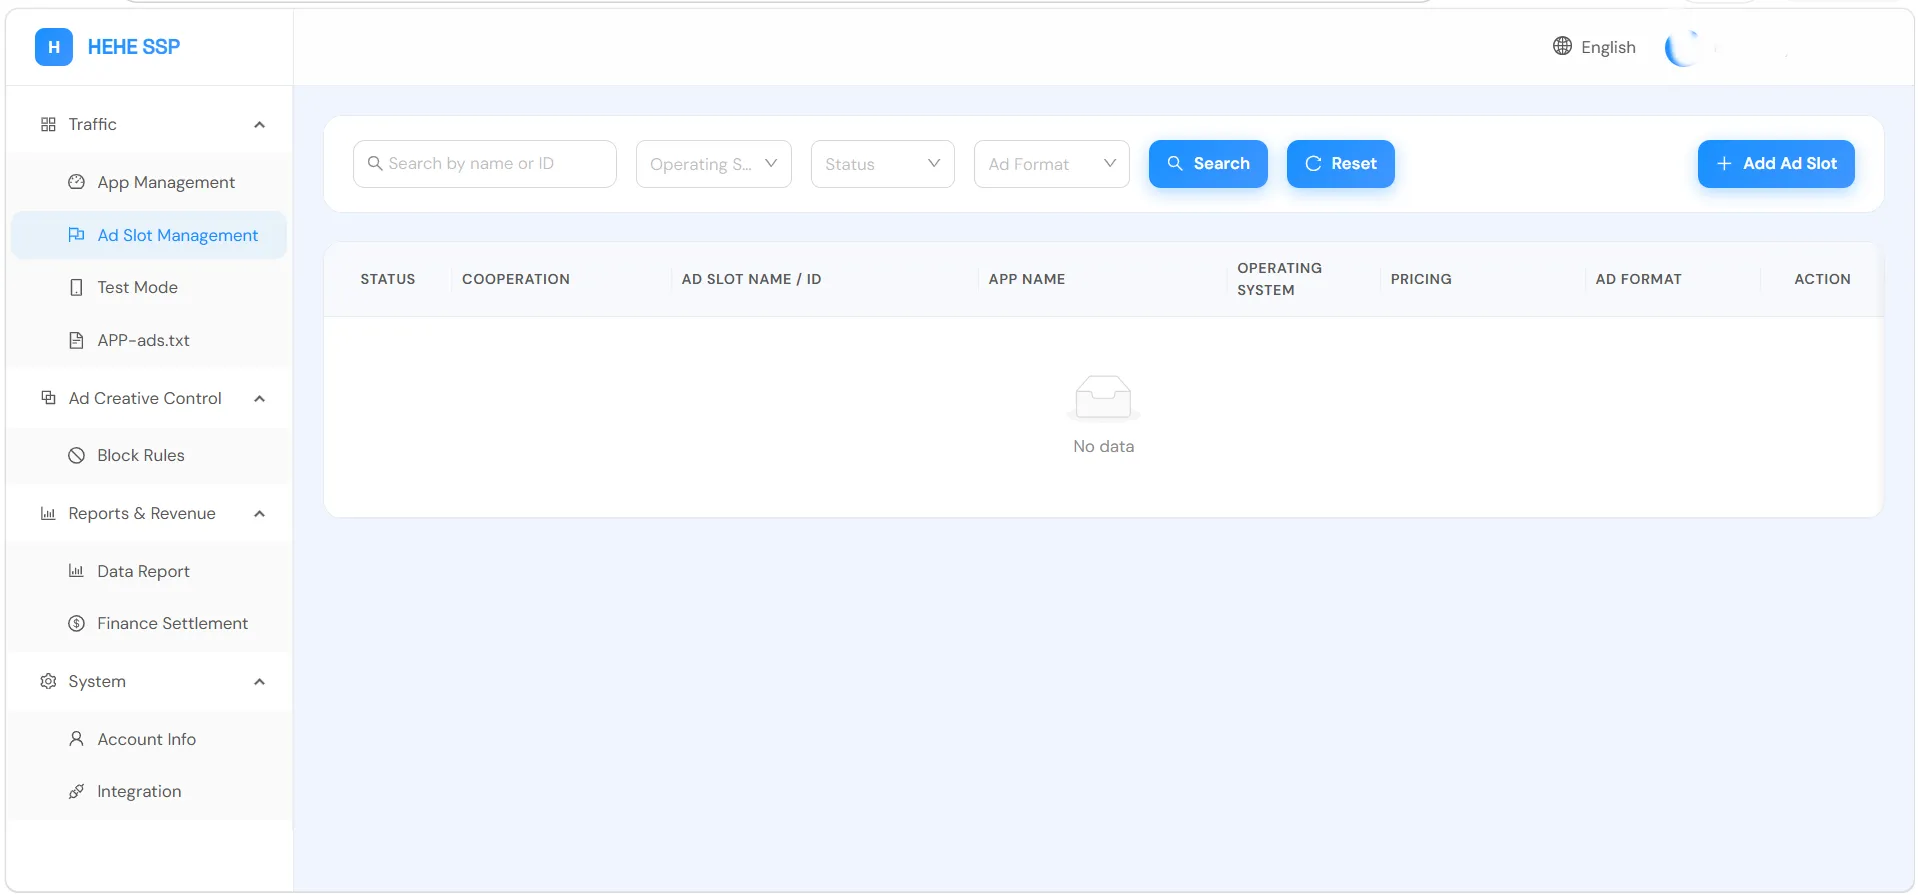
Create Ad Slot
Section titled “Create Ad Slot”Click Add Ad Slot and configure the ad format:
| Format | Use Case |
|---|---|
| Banner | Top/bottom placement (utility apps) |
| Interstitial | Full-screen popup (level transitions) |
| Rewarded Video | Watch video for rewards (game revive, coins) |
| Native | Custom layout (feed ads) |
| Splash | Shown on app launch |
After creation, obtain the Ad Slot ID for SDK integration.
Data Report
Section titled “Data Report”Navigate to Report & Revenue → Data Report:
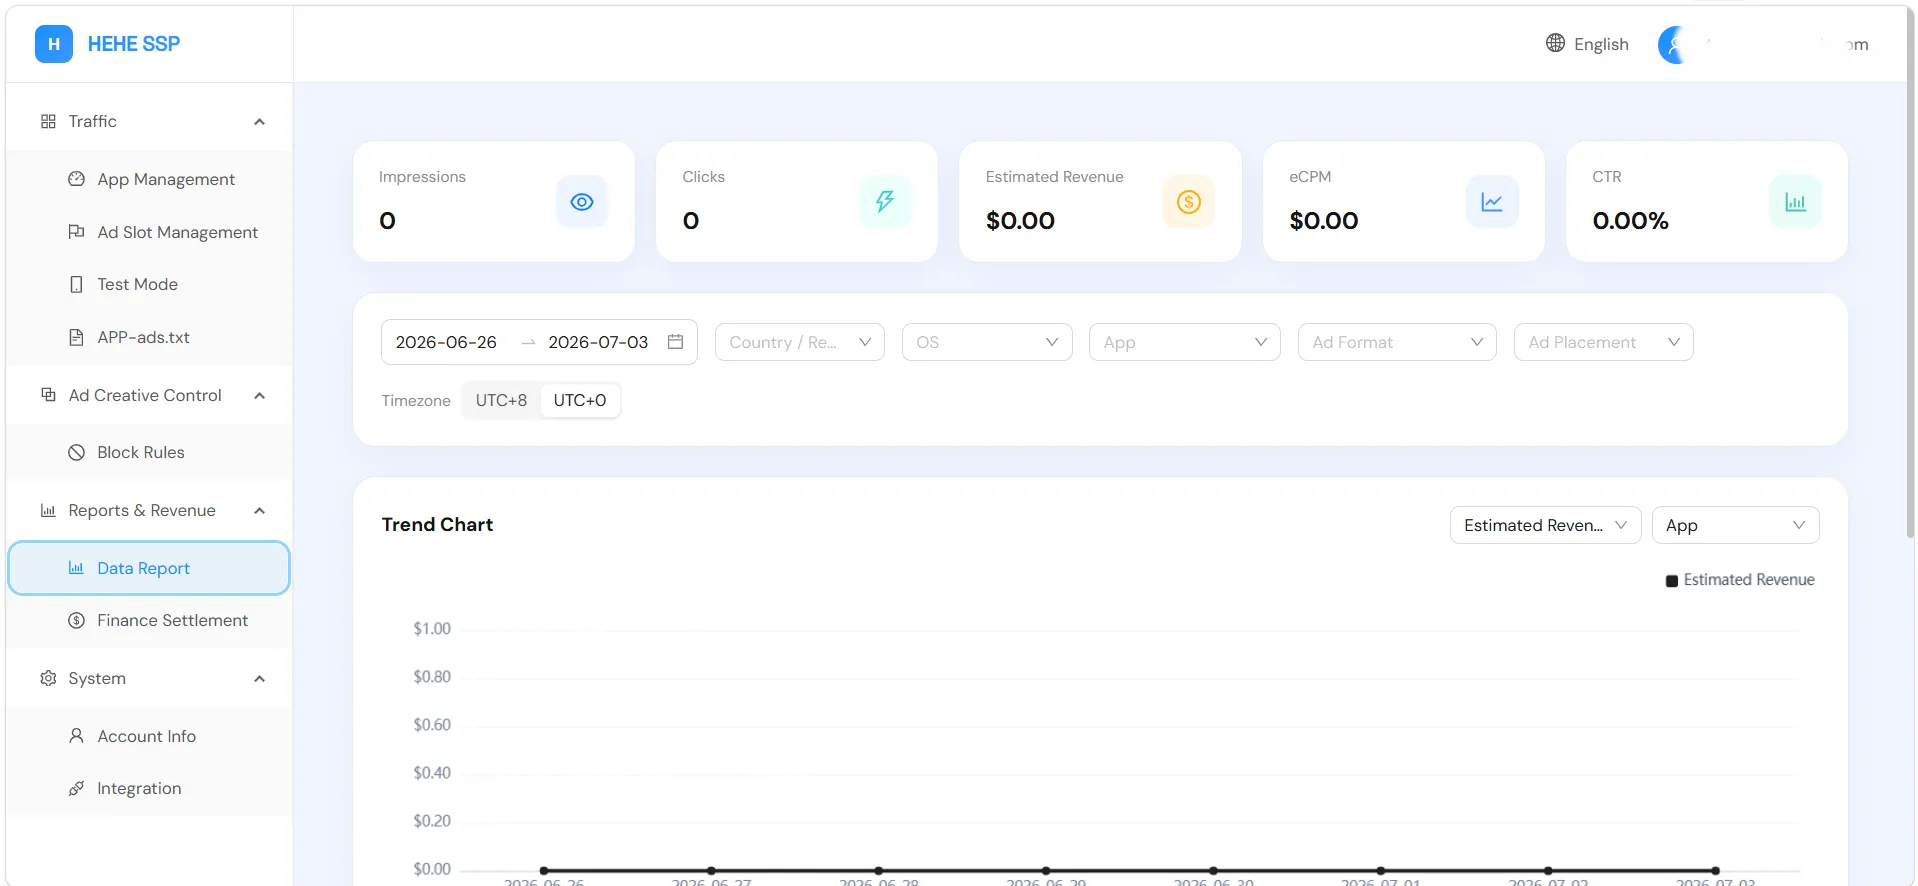
Key Metrics
Section titled “Key Metrics”| Metric | Description |
|---|---|
| eCPM | Effective revenue per 1,000 impressions |
| Impressions | Number of ad renders visible on screen |
| Clicks | User-initiated ad clicks |
| CTR | Click-through rate |
| Estimated Revenue | Revenue estimate before adjustments |
| Fill Rate | Successful ad responses / ad requests |
Finance Settlement
Section titled “Finance Settlement”Navigate to Report & Revenue → Finance Settlement:
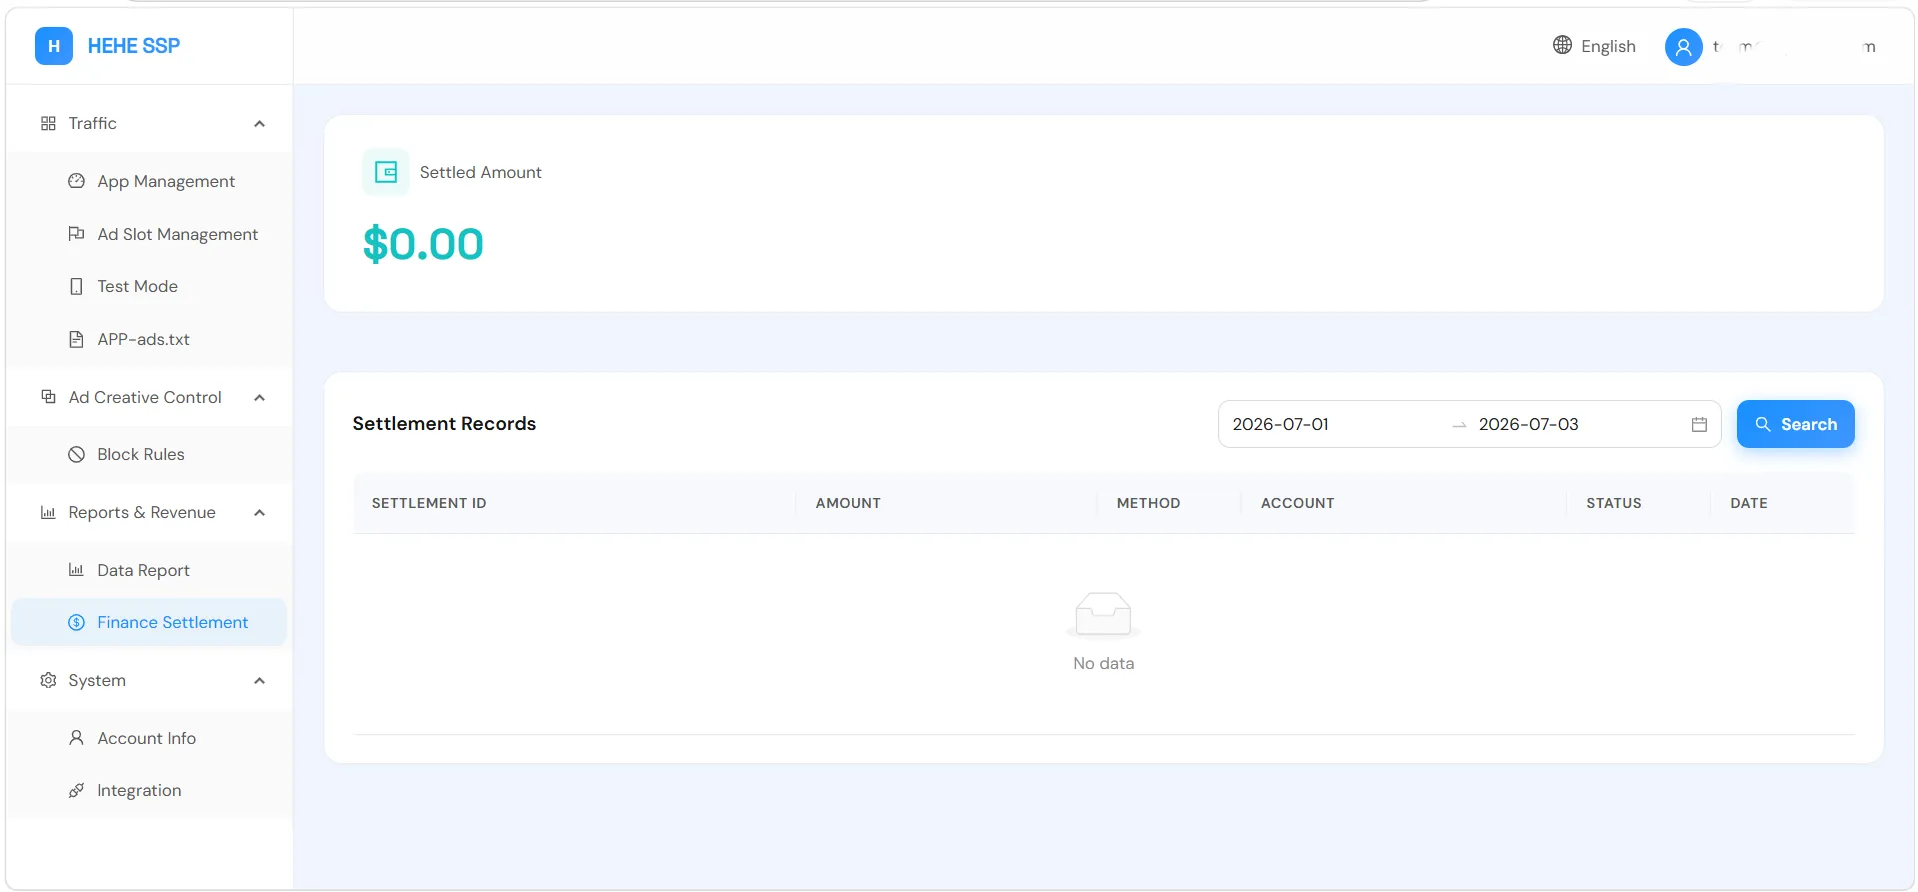
- Settlement cycle: Monthly
- Minimum payout: $100
- Amounts below threshold roll over to next period
Test Mode
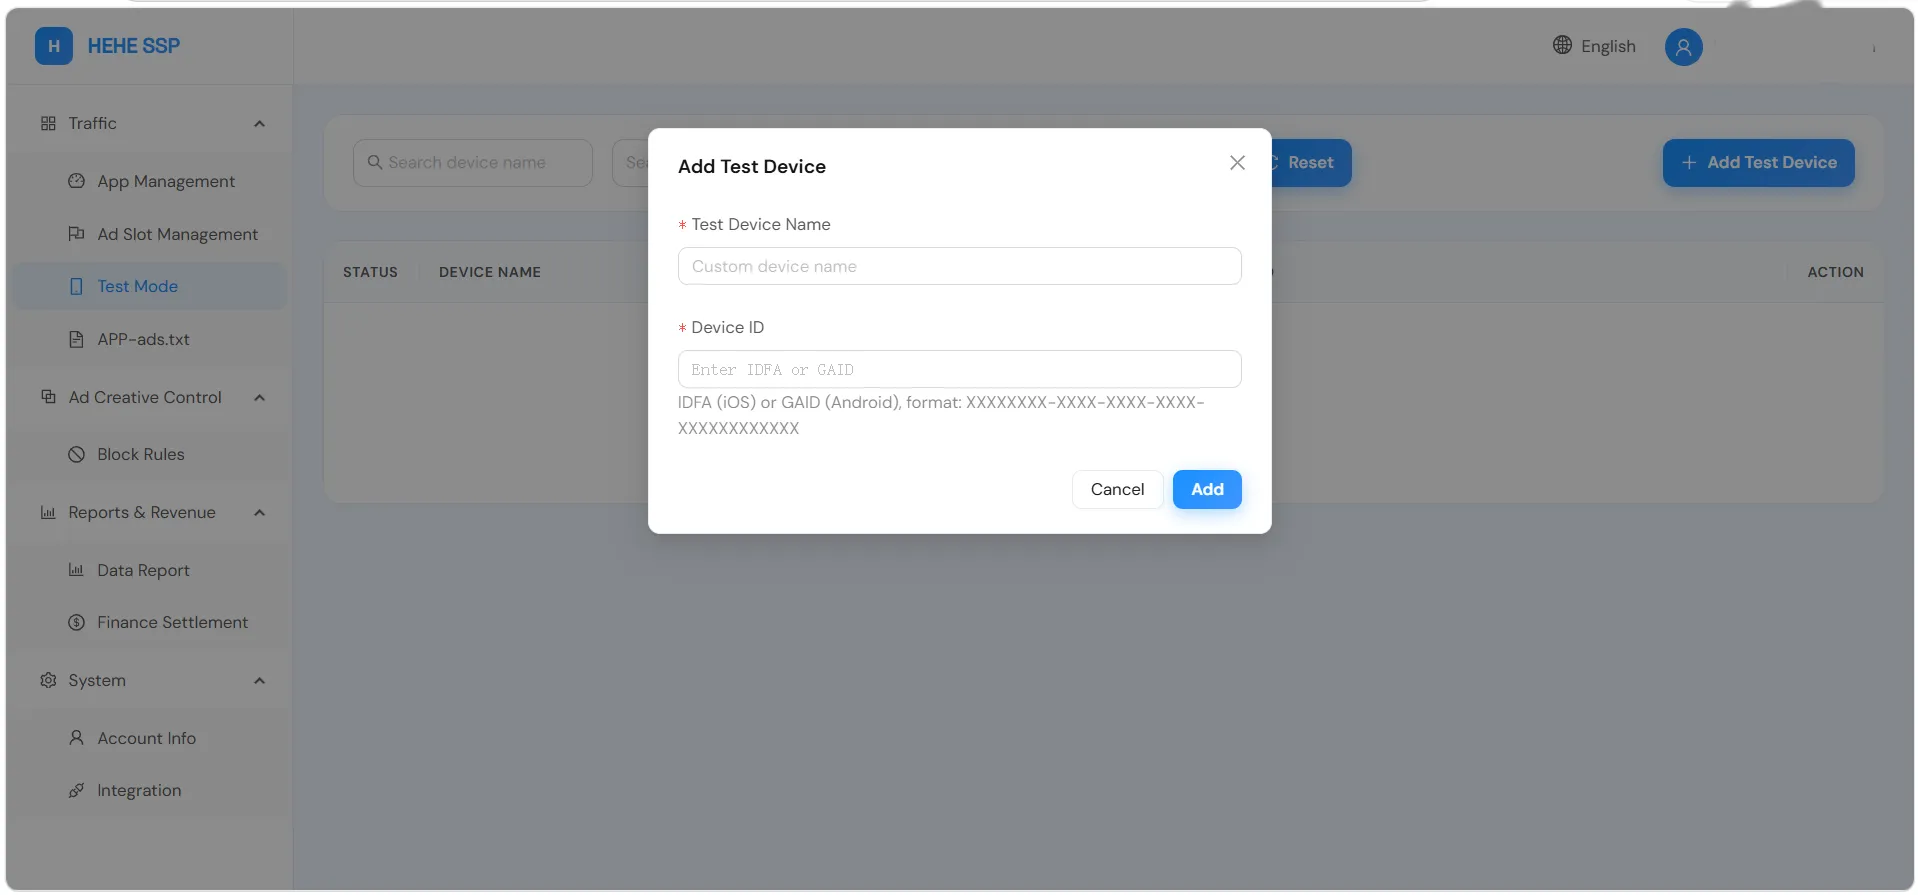
Section titled “Test Mode”Navigate to Traffic Management → Test Mode to add test devices.
| Field | Description |
|---|---|
| Device Name | Custom name, e.g. “Dev-iPhone16” |
| Device ID | Device identifier from SDK |
Test devices show test ads with no real revenue. Replace with production Ad Slot IDs before launch.